
The steady growth of FDM printers is increasingly blurring the lines between private, hobbyist, and commercial use. At the same time, there is a growing demand for accessories that increase both print quality and safety. An example is accessories such as the Brusa Enclosure, a dedicated enclosure for the Brusa i3 MK3 and MK4 printer models. In our test report, we examine whether the enclosure and its many upgrades are really worth buying.
As already stated in our previous reviews, Brusa is characterized by an extensive and dynamic ecosystem, which not only provides access to a wide community and its collective intelligence, but also provides the opportunity for many upgrades. In addition to MMU3, which enables multi-material printing, one of the most popular extensions is the Brusa enclosure.
The latest version of the Brusa enclosure was originally designed for the MK3(s)(+), but according to the manufacturer it is compatible with the MK4. The main function of the cover is to protect the heat of the heated bed inside. This is especially useful when printing materials such as ABS, ASA or PC, which are prone to deformation. The enclosure also provides protection for the printer and enables you to mount a variety of extensions or integrate the printer into a shelving system.
This gives us reason enough to test the enclosure ourselves and share our impressions and experiences.
Organization and First Impressions
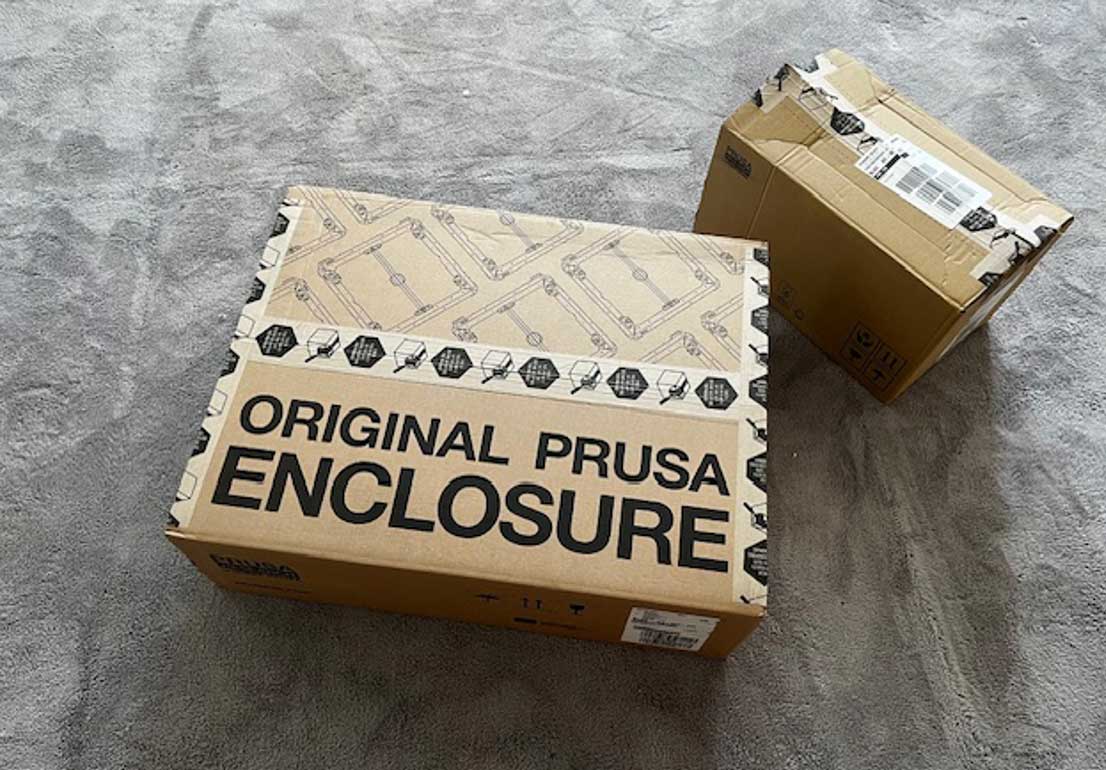
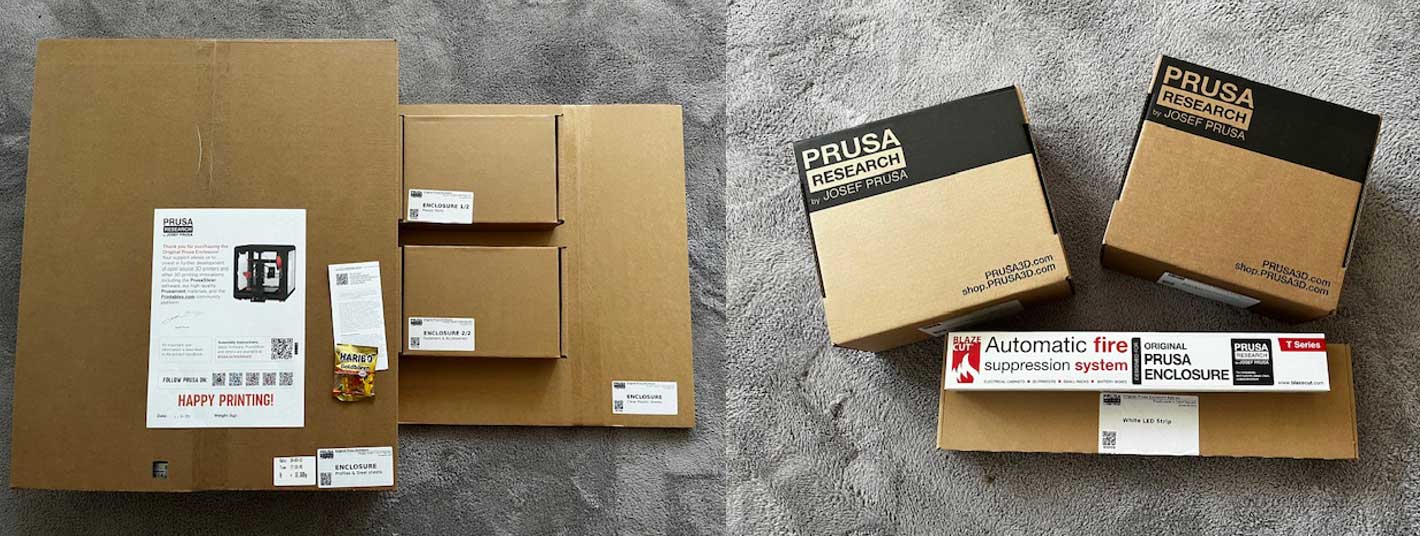
As we’ve come to expect from Prusa, our upgrade package is well presented and concise. The careful packaging of components is impressive when opening the enclosure and upgrades that include an automatic fire extinguishing system, LED lights and a filtration system. Each section is meticulously compiled and described. The large number of individual parts is also striking, which explains the small collection size.
Assembly is easy thanks to Brusa’s detailed online instructions, but requires 5 to 8 hours depending on parts and individual speed. It also includes modifications to the printer, such as removing and integrating the power supply and display into the enclosure.

Brusa’s documentation deserves special praise: the online instructions are detailed and understandable, despite the large number of product variations that have to be taken into account. However, a potential criticism is that each accessory has separate instructions, which leads to redundancies in descriptions and sometimes assembly steps when installing multiple components at once.
In short, assembly is easy to carry out and can be done by anyone familiar with furniture assembly à la Ikea, although it can be time-consuming.

Preliminary result
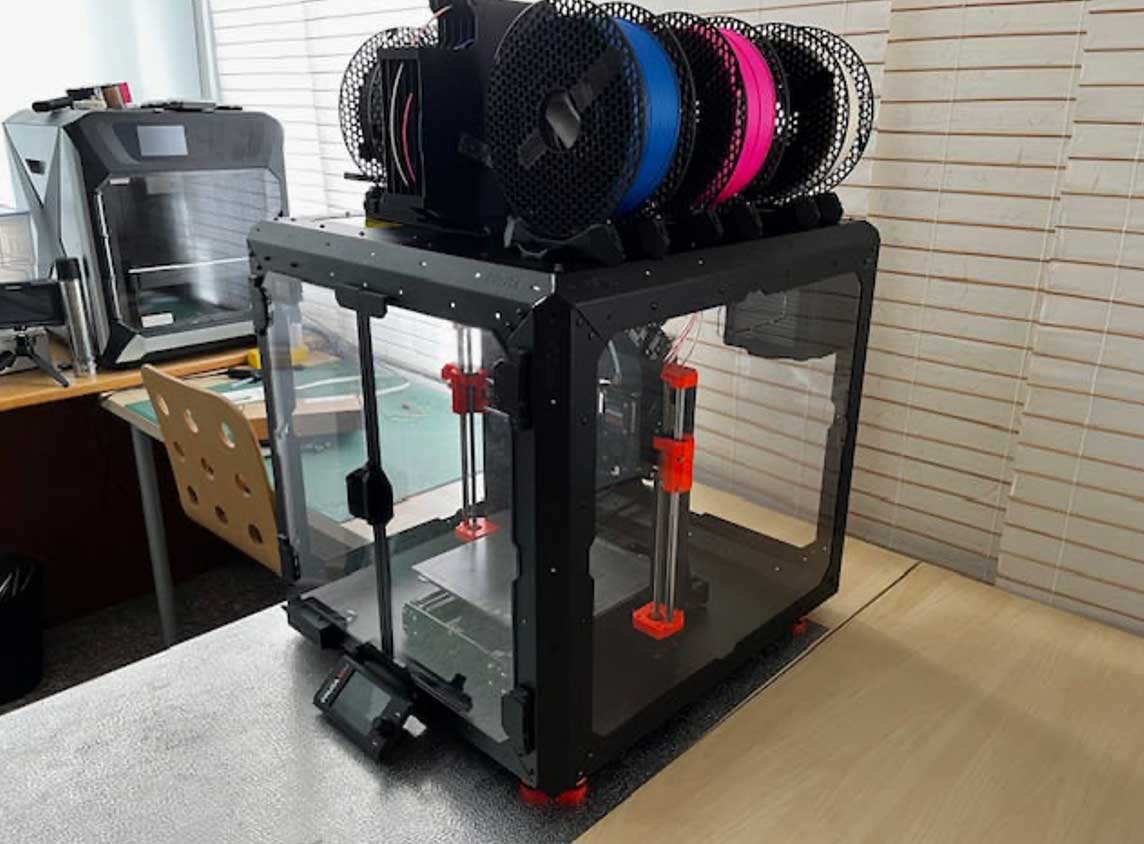
Once the enclosure and its components are assembled, you’ll find a beautiful chassis that looks well thought out and stable. We print some parts, including an optional bracket for the LED and fan power supply. While long-term testing is still pending, we can tentatively note the pros and cons of the case:
In our view, enclosure presents the following disadvantages:
- Detailed Structure: Although the structure is well explained, it is very time consuming. While we’ve found this to be less of a hassle than other Brusa devices, it allows you to familiarize yourself with the technical architecture, unfortunately it’s not as exciting in the chassis as the Swedish furniture maker’s intricate cabinetry.
- Ease of maintenance/scaling: The fixed installation of the power supply and display and the Plexiglas panels on the sides and back do not want to be opened, making it difficult to access the printer for maintenance tasks. In addition, housing is relatively large and requires a lot of space.
We rate neutrally:
- Vol: In terms of size, the enclosure offers no significant advantages due to thin walls.
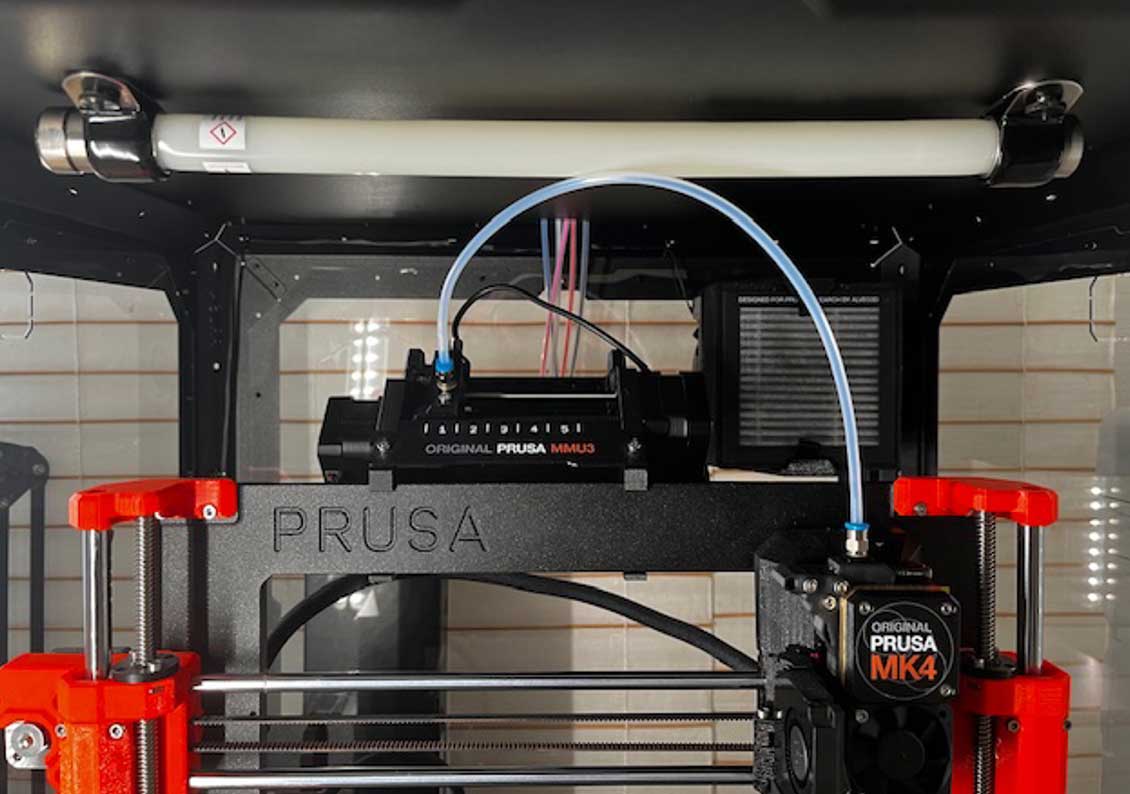
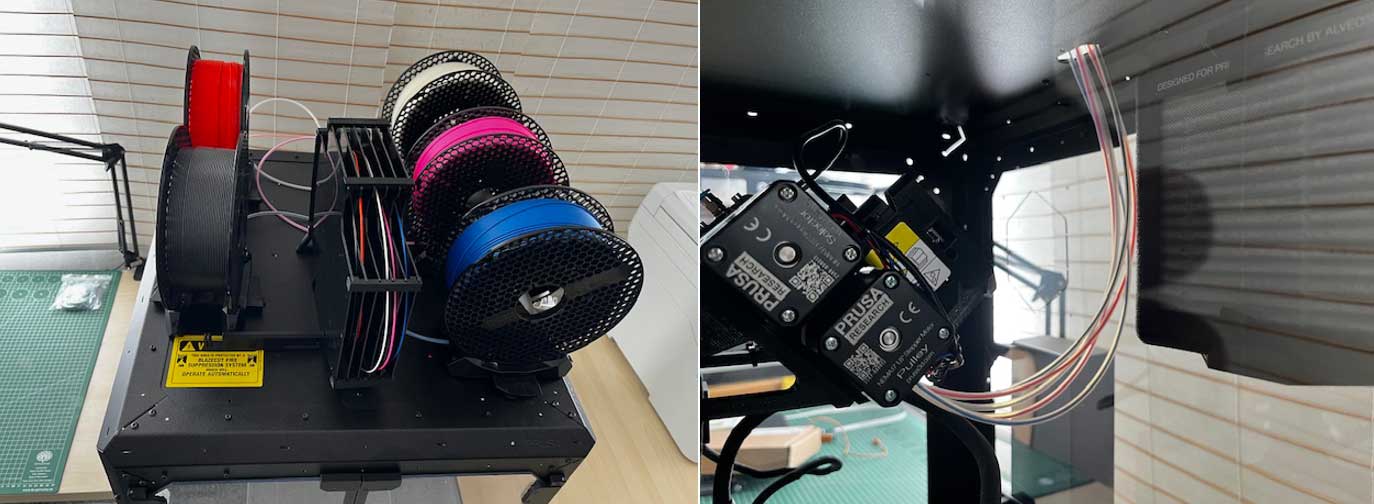
- Combination with MMU3: While integration with the MMU3 is certainly possible, the enclosure isn’t quite ready for it. There are many suggestions from the community for the arrangement. We have arranged the filament spools in the casing which now makes it easy to replace the entire system.
- Breeze: With a base price of €369 and up to €706.96 for all upgrades, the enclosure doesn’t look cheap, especially compared to devices that come with a fully assembled chassis. In our opinion, the chassis doesn’t seem to make much sense without additional features, especially the fan and shutdown system, unless you plan to install your printer in a shelving system. However, if you opt for additional features, it offers practical advantages that are not currently offered in any comparable home appliance.
Benefits include:
- Stability and Security: The strong metal structure and enclosed installation space protect the printer from dust and undoubtedly lead to a sleeker setup for devices without MMUs.
- Improved printing conditions: The enclosure promises better processing of materials such as ABS and PC as warping is reduced, along with a slightly improved internal temperature. A scenario we’ll have to test in the future, especially since we’ve had very few issues with warping so far.
- Modification: Thanks to several pre-drilled holes and brackets, the housing can be individually expanded and adapted to specific needs. There are already many social changes in printables.
- Lamp: While not revolutionary, the lights are certainly a practical feature.
- Odor Reduction: Thanks to the optional fan, a significant reduction in odor is noticeable, especially with materials such as ABS. However, this advantage actually comes into play only with the fan and not just with the enclosure.
- Security: A definite plus point is the passive shutdown system, which is a completely unique selling point for devices in this price range and increases safety.
Overall, the Brusa enclosure impresses with its high-quality workmanship and many expansion options. Anyone who regularly works with heat-sensitive materials or wants to protect their printer will appreciate the added value of this case. The Prusa Enclosure currently costs around 369 euros from the manufacturer.
Don’t miss out on more news!
We deliver the most important 3D printing news and information to your inbox every week for free. Sign in here. We are too LinkedIn to find out. You can do it, we can Follow along here!